
.png)
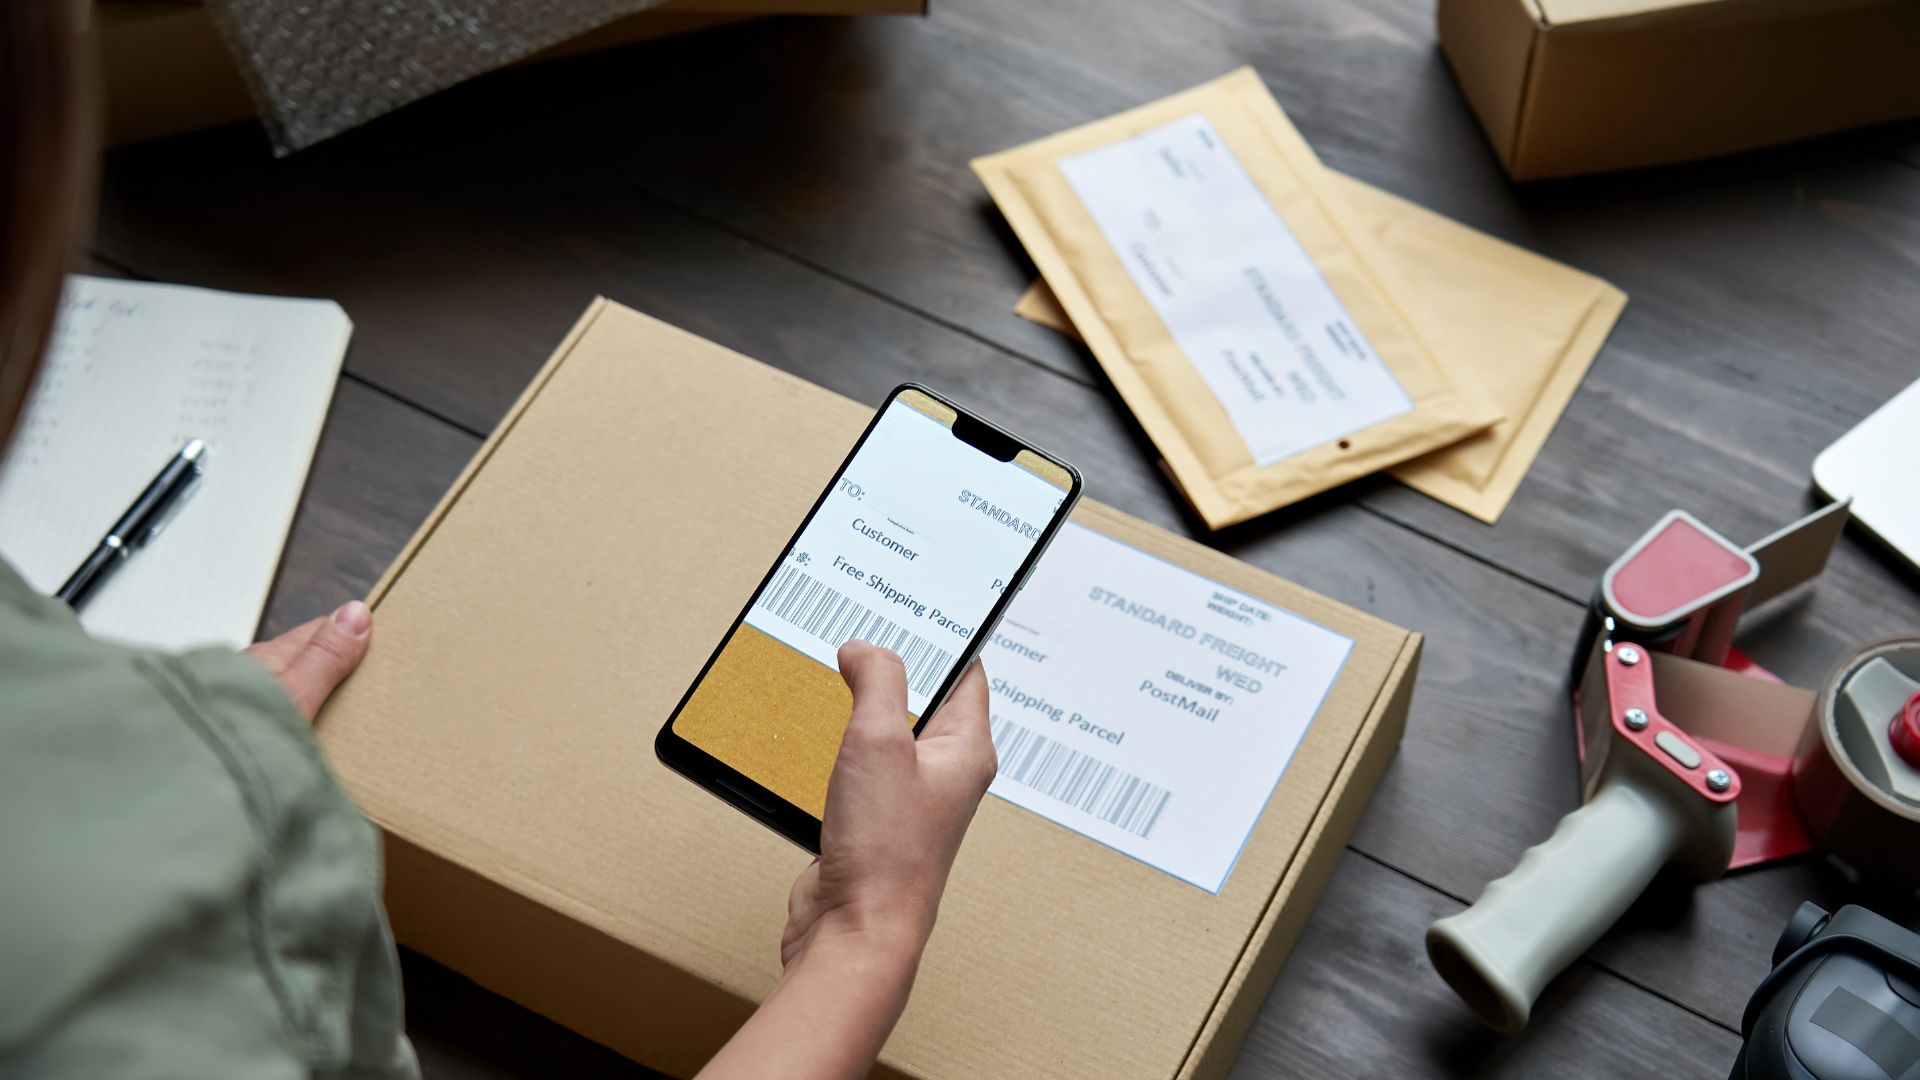
If you are shipping orders and someone on your team is still writing "your order has shipped" emails by hand, this workflow template replaces that entirely. It watches a Gmail label you assign when an order ships, reads the email for the order number and tracking details, and sends a formatted notification to your customer automatically.
No CRM. No ERP integration. Just Gmail and n8n.
This is one of the most practical n8n workflow examples for small manufacturers because it solves a real daily task without requiring any new software or API credentials beyond what you already have.
A triggered n8n workflow that:
By the end of this tutorial, your team's only job is to label an email "Ready to Notify" when an order ships. The rest happens automatically.
Have these in place before opening n8n:
A Gmail label for triggering the workflow. In Gmail, create a label called "Ready to Notify" (or any name you prefer). This is the label your team applies to an email when they want the shipping notification sent. It acts as the trigger signal.
A consistent email format for shipment notes. This workflow uses text parsing to pull the order number and tracking number out of the email body. The parsing works reliably when the format is consistent, for example:
Order: #1042
Tracking: 1Z999AA10123456784
Ship to: customer@example.com
If your team uses a different format, you will adjust the parsing logic in Step 4. The cleaner and more consistent the format, the less logic you need.
n8n instance. This tutorial works on n8n Cloud or self-hosted. Version 1.0 or later recommended.
Gmail credentials in n8n. Go to Credentials in n8n, add a Gmail OAuth2 credential, and authorize it against the Gmail account your team uses for shipping. If your team has a shared shipping@yourcompany.com account, authorize that one (notifications will come from that address).
The complete node sequence:
Gmail Trigger (label: Ready to Notify)
    → Code node (parse order number, tracking number, customer email from body)
    → IF node (check all three fields were found)
      → True: Gmail Send (shipping notification to customer)
               → Gmail Update (remove "Ready to Notify" label)
      → False: Gmail Update (move to "Parsing Failed" label for manual review)
Six nodes. The IF node splits into two paths: the clean path sends and clears, the error path moves the email to a review label so nothing is silently dropped.
Before building any nodes manually, use n8n's built-in AI to generate the workflow structure. This gives you a connected starting point in seconds; you then configure credentials and refine the logic in the steps that follow.
Open n8n and create a new workflow. Click the Generate workflow button in the top-right corner of the canvas (the sparkle/AI icon), or look for the AI description bar that appears on an empty canvas.
Use this prompt:
Watch a Gmail label called "Ready to Notify". When a new email appears in that label, read the body to extract an order number, a tracking number, and a customer email address. Send a formatted shipping notification to that customer. Then remove the "Ready to Notify" label and add a "Notification Sent" label to the original email. If the body cannot be parsed, add a "Parsing Failed" label instead of sending.
The AI will generate a set of connected nodes. It will not be fully configured: credentials are missing, field names are placeholders, and the Code node logic will need to be replaced with the specific JavaScript in the steps below. That is expected.
What the AI typically gets right:
What you will configure in the steps below:
Once the AI has generated the workflow, proceed to Step 2 to configure each node.
Create a new workflow in n8n. Add a Gmail Trigger node as the starting point.
Configure it:
The trigger fires whenever a new email arrives in the "Ready to Notify" label. Since your team applies the label manually when they are ready to send, the timing is controlled by them.
Add a Code node after the trigger. This node reads the raw email body and pulls out the three fields you need: customer email, order number, and tracking number.
In the JavaScript editor, use the following logic. Adjust the regex patterns to match whatever format your team uses:
const body = $json.text || $json.snippet || '';

// Adjust these patterns to match your email format
const orderMatch = body.match(/Order[:\s#]+([A-Z0-9\-]+)/i);
const trackingMatch = body.match(/Tracking[:\s]+([A-Z0-9]+)/i);
const emailMatch = body.match(/Ship to[:\s]+([\w._%+\-]+@[\w.\-]+\.[a-zA-Z]{2,})/i);

const orderNumber = orderMatch ? orderMatch[1].trim() : '';
const trackingNumber = trackingMatch ? trackingMatch[1].trim() : '';
const customerEmail = emailMatch ? emailMatch[1].trim() : '';

return [{
  json: {
    orderNumber,
    trackingNumber,
    customerEmail,
    emailId: $json.id,
    originalSubject: $json.subject
  }
}];
Run this node against a test email (apply the label to a real or dummy email first, then click Execute Node) and confirm the output panel shows all three fields populated. If any field comes back empty, open the raw email body in the output panel from the trigger node and adjust the regex pattern to match your actual format.
If your format is different: The regex patterns above look for lines starting with "Order:", "Tracking:", and "Ship to:". If your team writes "PO Number:" or "Carrier Tracking:" or puts the customer email in the To: field instead of the body, adjust the pattern or change $json.text to $json.to for the email address. n8n exposes the full Gmail message object; use the output panel from the trigger node to see exactly which fields are available.
Add an IF node after the Code node. This is the safety net: if any of the three required fields came back empty, the workflow routes to a manual review label instead of sending a broken notification.
Configure with AND logic (all three must be non-empty):
Connect the True branch to the Gmail Send node (Step 4). Connect the False branch to a second Gmail Update node (Step 6) that moves the email to a "Parsing Failed" label.
Add a Gmail node on the True branch. Set the operation to Send Email.
Configure it:
Hi,

Your order {{ $json.orderNumber }} has shipped.

Tracking number: {{ $json.trackingNumber }}

You can track your shipment using the carrier's website by entering the tracking number above.

Thank you for your order.

[Your company name]
[Phone or email for questions]
Adjust the body to match your brand voice. The order number and tracking number are pulled in dynamically from the Code node output.
After the Send node, add a Gmail node with the operation set to Modify Message.
Configure it:
This moves the email out of the trigger label and into "Notification Sent" so you have a record of what was processed. The trigger will not pick it up again because it is no longer in the "Ready to Notify" label.
On the False branch from the IF node, add another Gmail node with Modify Message.
Configure it:
Create a "Parsing Failed" label in Gmail. Your team can check this label daily for any emails that did not parse correctly and handle them manually. Nothing is silently dropped.
Toggle the workflow to Active. From this point, any email your team labels "Ready to Notify" in Gmail will trigger the workflow within one minute.
Test the full flow: create a test email in the format your team uses, apply the "Ready to Notify" label, and wait for the trigger to fire. Confirm the notification arrives at the customer address in the test email, then check that the original email moved to "Notification Sent."
Regex fails on inconsistent email formats. This workflow is only as reliable as the format of the emails your team writes. If one person writes "Order #1042" and another writes "PO: 1042", you will get parsing failures. Standardize the format first, or extend the regex to handle both variations. A simple internal template (copy-paste this when you ship an order) eliminates most parsing issues.
Duplicate notifications if the workflow runs more than once on the same email. The Gmail Update node in Step 5 removes the trigger label after sending, which prevents reprocessing. If you see duplicate sends, check that Step 5 is connected and the label removal is configured correctly. If you are testing, reset by manually re-applying the label to a test email after each run.
Gmail OAuth token expiry. Google OAuth tokens for n8n occasionally need to be re-authorized, especially on self-hosted instances. If the workflow stops firing, check the Credentials section in n8n first: a re-authorization usually takes 30 seconds.
Add a carrier tracking link. Most carriers have a URL format that accepts a tracking number as a parameter. Instead of printing the raw tracking number, format it as a clickable link in the email body. Add a line to the Code node that builds the URL from the tracking number: const trackingUrl = 'https://www.ups.com/track?tracknum=' + trackingNumber; and include {{ $json.trackingUrl }} in the email template.
Log each notification to Google Sheets. Add a Google Sheets node after the Gmail Send node to append a row: date, customer email, order number, tracking number, status. This gives you a running log of every notification sent without needing to search Gmail.
Pull the customer email from a Sheets order tracker instead of the email body. If your team maintains an order tracker in Google Sheets with customer emails already logged, replace the regex email extraction with a Google Sheets lookup using the order number as the key. This is more reliable than parsing email bodies and worth building once your volume grows.
This workflow is a strong first or second build for a manufacturing team because the failure mode is visible and recoverable. If the parsing fails, the email moves to a review label; nothing is lost, and your team knows exactly which emails to handle manually. If the workflow sends a notification, the source email moves to a sent archive. The system is auditable from inside Gmail without needing to open n8n.
It also demonstrates a pattern that applies to dozens of similar problems: watch a label, extract information, act, mark as done. Once your team has built this once, the mental model transfers to supplier follow-ups, internal notifications, and customer inquiry routing without needing to start from scratch each time.
The Flow Kaizen guide covers how to sequence your first five automation builds, starting with quick wins like this one and building toward more connected workflows as your team's confidence grows.

.png)
